The Granny Square
A return to crochet basics
Hello, I hope you are well and staying warm. The weather has been pretty cold here lately, and cold weather always seems to pull me back toward cozy, familiar things. Right now, that thing is crochet.
Lately, I’ve been on a little mission to master the classic granny square.
I learned the basics of crochet when I was young — my grandmother was really good at it. I remember watching her hands move so easily. Over the years, I’ve crocheted on and off, never too seriously, but always with a sense of comfort.
One year, the teachers at my children’s school all received crochet scarves from me. I didn’t follow a pattern at all — I went back and forth until the yarn was gone. It was perfect because it was simple and mindless, something I could do while watching TV without really thinking. I think I made l2 or 13 scarves! I’ve also made blankets again, no pattern! Just make and forth, adding colors and skeins as I go. People love to get a handmade gift!
More recently, I’ve felt the pull to learn the granny square properly — not just to make one, but to turn it into something. I bought yarn with the intention of making a sweater (ambitious, I know), and I’ll keep you posted on how that goes.
If you’re like me and want a granny square that feels classic but not too holey, this chain-1 corner version is a great place to start. It’s simple, sturdy, and beginner-friendly.
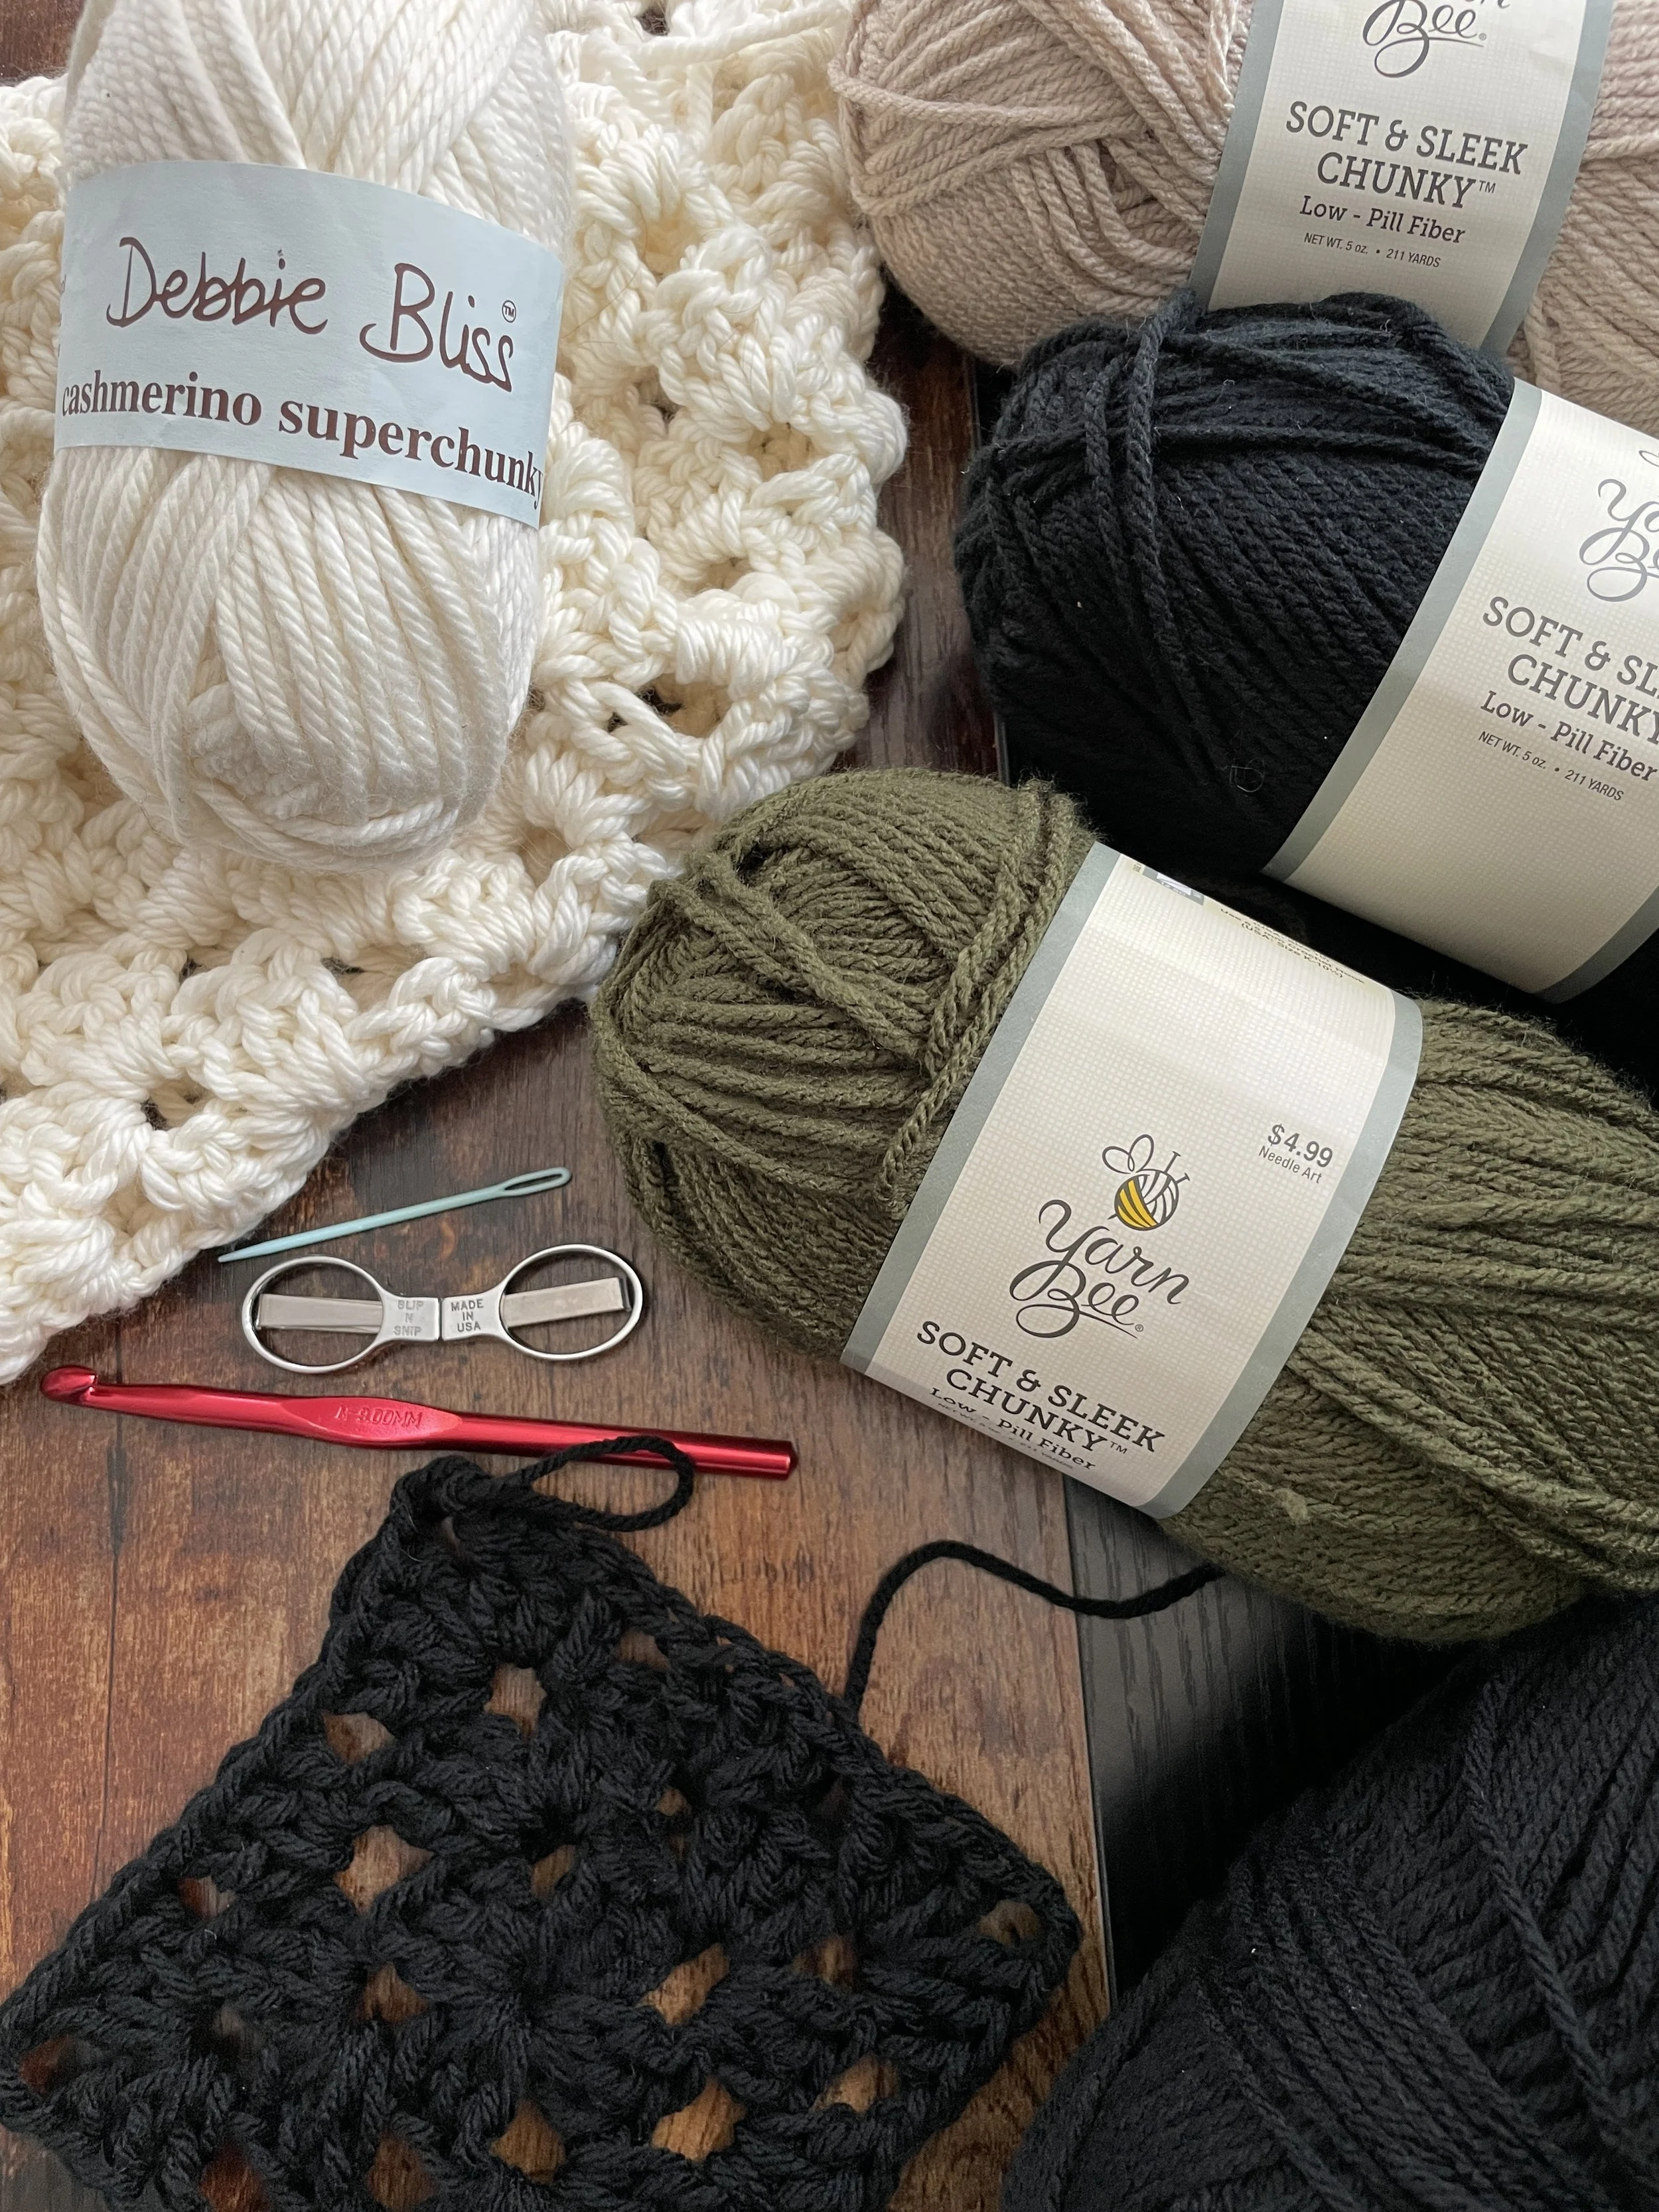
Supplies Needed
Yarn of your choice
Crochet hook that matches your yarn
Scissors
Yarn needle
Supply list link to my Amazon shop.
Easy Granny Square Pattern (US Terms)
Chain 3 Corners, Variations Chain 1 Corner
Abbreviations
ch = chain
sl st = slip stitch
dc = double crochet
sp = space
Foundation
Chain 4.
Slip stitch to the first chain to form a ring.
Round 1
Chain 3 (counts as first dc)
2 dc into the ring
Chain 3
(3 dc, ch 3) into the ring 3 more times.
Slip stitch to the top of the beginning chain 3.
You should now have 4 clusters of 3 double crochets with chain-3 corners.
Round 2
Slip stitch into the next chain-1 corner space
Chain 3, 2 dc, ch 3, 3 dc in the same corner space
In each remaining corner space:
3 dc, ch 3, 3 dc
Slip stitch to the top of the beginning chain 3.
Round 3
Slip stitch into the next corner space
Chain 3, 2 dc, ch 3, 3 dc in the corner space
In the next side space:
3 dc
Repeat around:
3 dc, ch 3, 3 dc in each corner
3 dc in each side space
Slip stitch to join.
Round 4 and Beyond
Slip stitch into a corner space
Chain 3, 2 dc, ch 3, 3 dc in the corner
Work 3 dc in each side space until the next corner.
Repeat around, placing 3 dc, ch 3, 3 dc in every corner.
Slip stitch to join at the end of each round.
Tips
Corners: 3 dc, ch 3, 3 dc (variations 3 dc, ch 1 or 2, 3 dc)
Sides: 3 dc in each space
Always begin new rounds in a corner space
There’s something deeply satisfying about returning to basics — especially ones tied to memory, warmth, and creativity. Whether you’re making a blanket, a bag, or dreaming of a sweater like me, this granny square is a solid, confidence-building place to begin.
If you make one, I’d love to hear what you’re turning it into. Sometimes the simplest squares lead to the best projects.
Let me know if you want this turned into a printable PDF, or if you’d like a follow-up post on joining squares or color changes.
If you’re more of a visual learner, YouTube has some wonderful granny square tutorials that can be really helpful. Seeing the stitches formed in real time makes a big difference, especially if you’re just getting started or want reassurance that you’re on the right track. You can try this one or this one — each varies slightly in technique and pacing, so it’s worth watching a couple to see which style clicks best for you.
Happy crocheting, stay warm!
Susan